Hi! It’s great to have you here. Let’s explore how to create your Weezly account. Just follow the steps.
#1 SIGN UP #
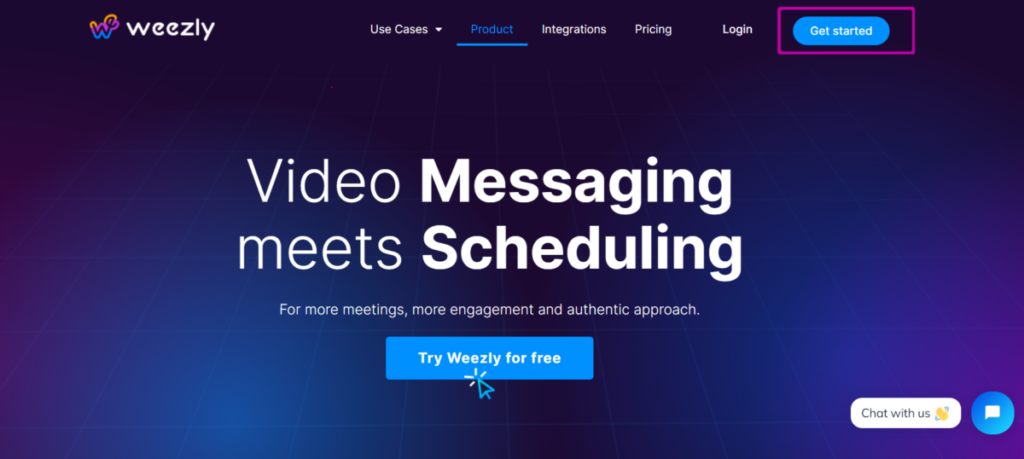
First, go to any page on weezly.com and find the sign-up button in the upper right corner. Once you click sign-up, the first page will open, and you must fill it out.
#2 Welcome to Weezly #
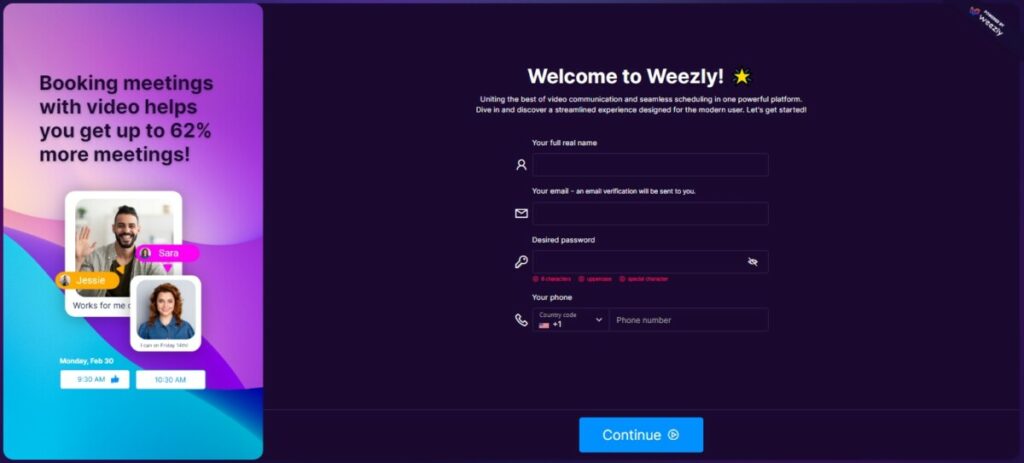
Fill all the fields with your information (full name, email, desired password, and phone (if you want). Then, just click on Continue.
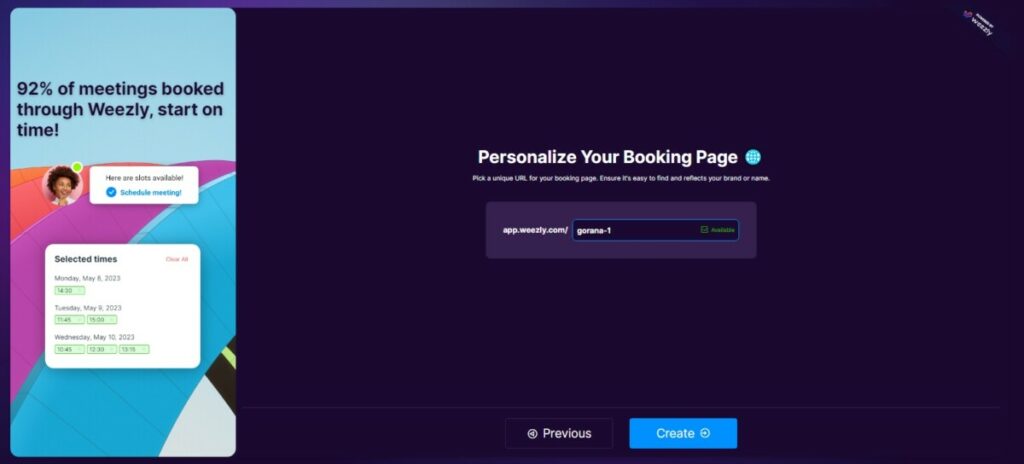
#3 Let’s personalize your booking page #
Weezly is unique in that you can personalize and customize your booking page. You need to choose a unique URL, preferably composed of your name or brand. Enter the desired URL in the provided field and click Create.
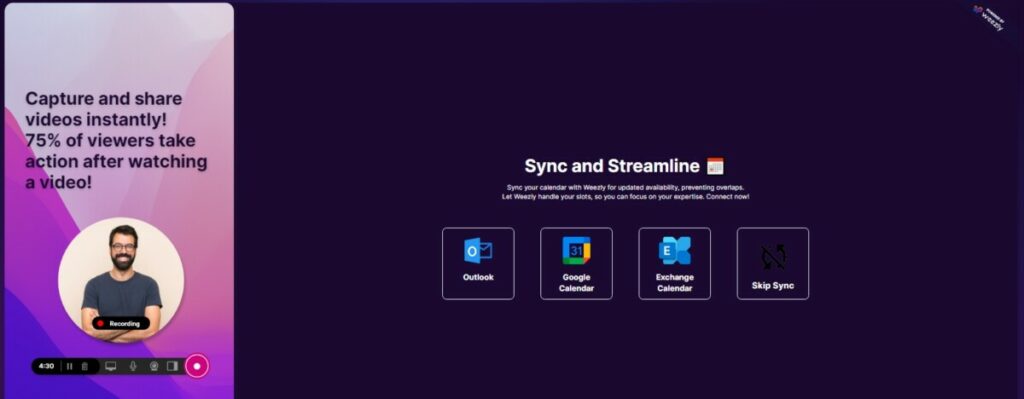
#4 Connect Weezly to your calendars #
In this step, you can immediately sync your account to the calendars you need. Just click on the desired calendar or skip syncing. If you skip syncing at this time, don’t worry. You can always do it later.
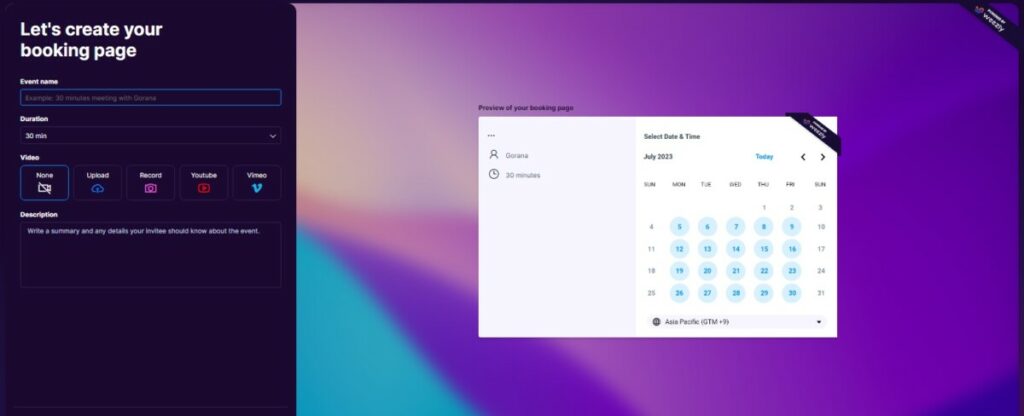
#5 And now it’s time to create your first booking page. #
In this step, you need to enter all the information about your booking page.
- Enter the desired event name first. For example, “Meeting with Elon Musk“.
- Then enter the estimated duration and video (optional).
- You can also add a description and write about the meeting’s purpose and other essential information.
#6 That’s it – you are in. #
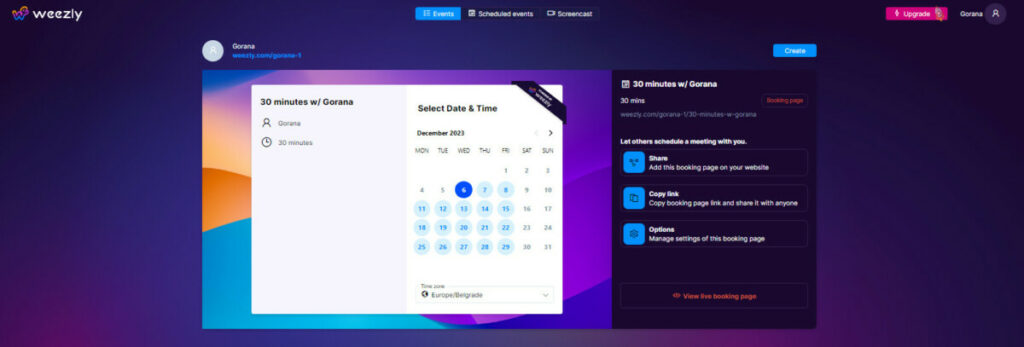
You are currently on Weezly’s dashboard, where you can see the booking page you’ve created. To proceed with further event creation, click the “Create” button. But before that, let’s edit your profile.
