How to record yourself? Recording yourself with Weezly is a straightforward process. Here are the steps to do it. First, you must download and add the Weezly extension to your browser. Let’s do that together, step-by-step.
Download Weezly extension #
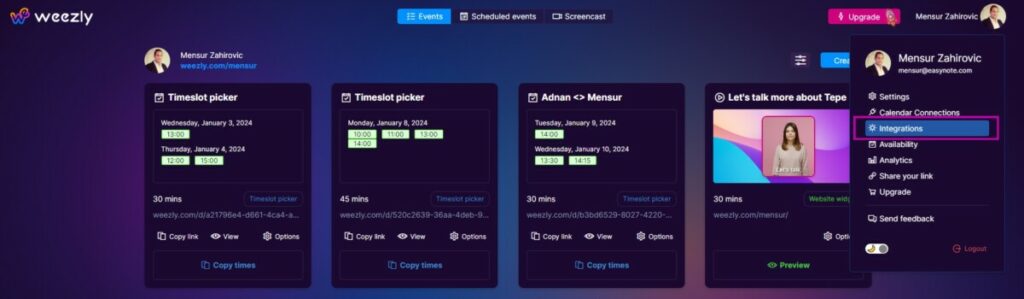
#1 Integrations #
Log in to your Weezly account and click on the icon with your name and picture in the upper right corner.
Then select “Integrations“
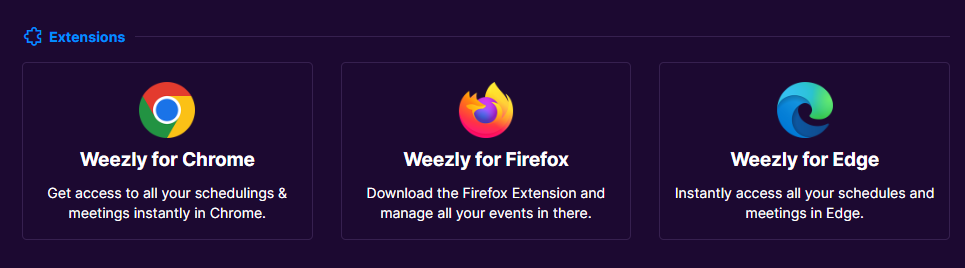
#2 Extensions #
In the offered integrations, find the section with extensions and click on what you need.
#3 Download Extention #
Example for Chrome
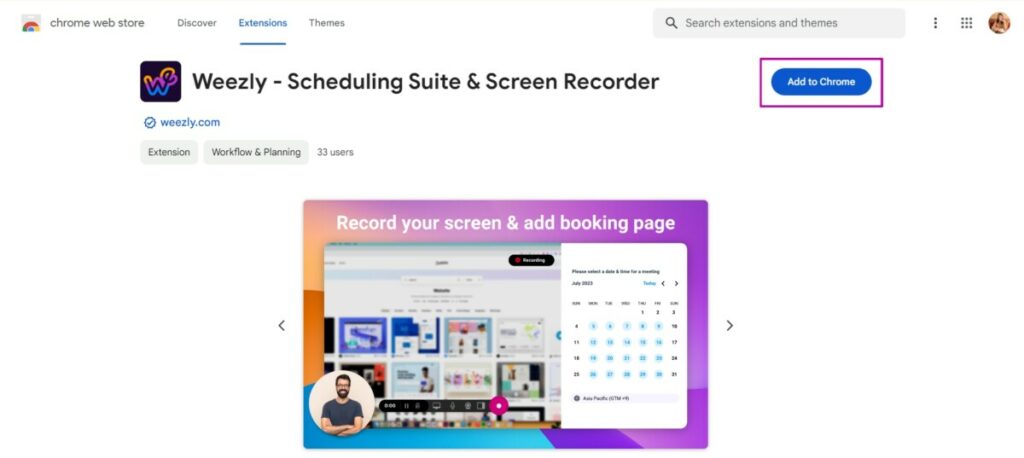
To install the Weezly Chrome extension:
- Locate the Chrome extension in the integrations section and click its icon.
- A window will open, as illustrated in the accompanying image.
- In the upper right corner of this window, click the “Add to Chrome” button and wait for the process to complete.
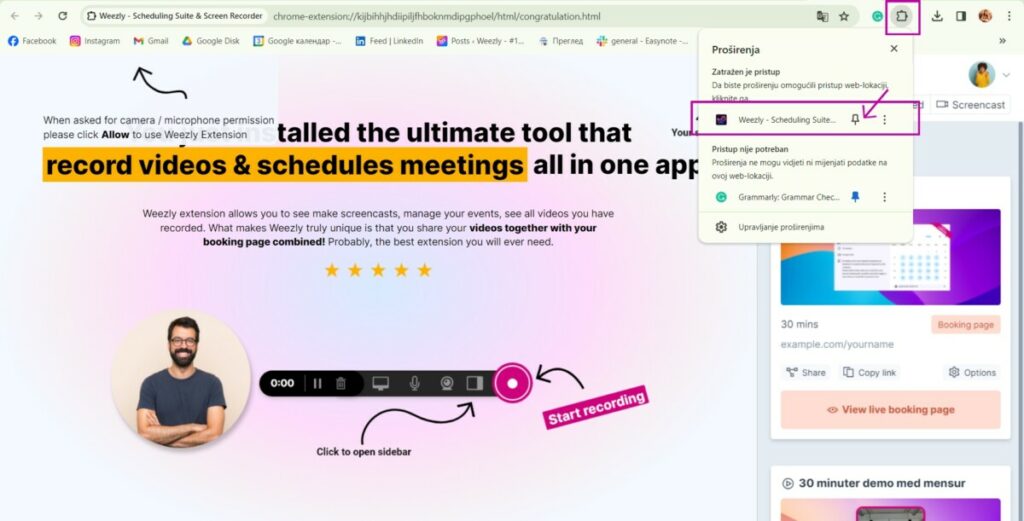
#4 Allow & Pin #
- A pop-up will appear asking for permission to add the extension. Click “Approve” to proceed.
- Once installed, Weezly will be visible in your Chrome taskbar. Refer to the image to learn how to pin it for easy access.
Record a video message #
#1 Step: Click on the small Weezly icon #
(For Chrome users: see the image below)

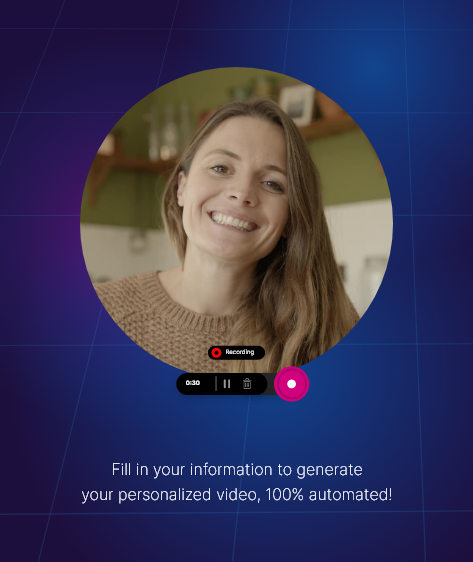
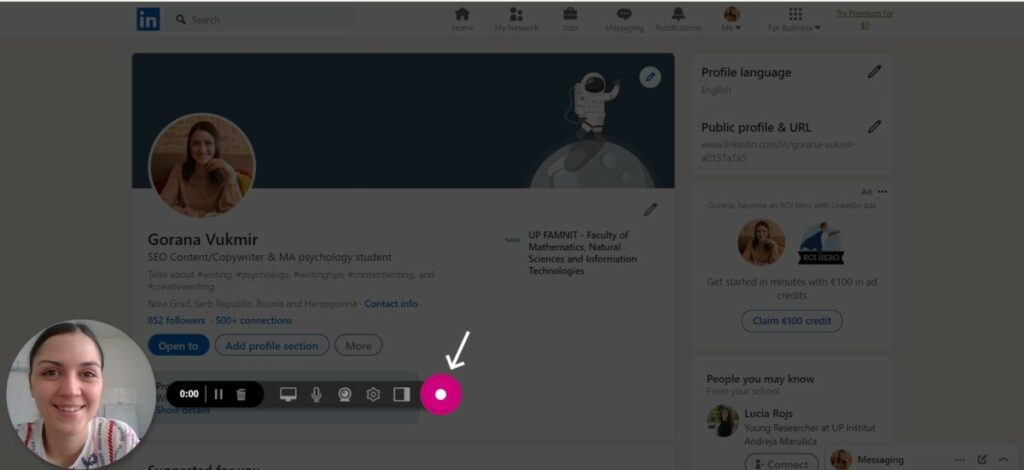
#2 Step: Record #
Find the pink button for recording, get ready, and click on it. That’s it – now you’re recording your video message.
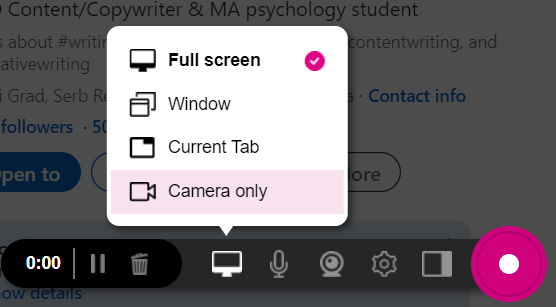
Additional settings #
- Set what you want to share on the screen.
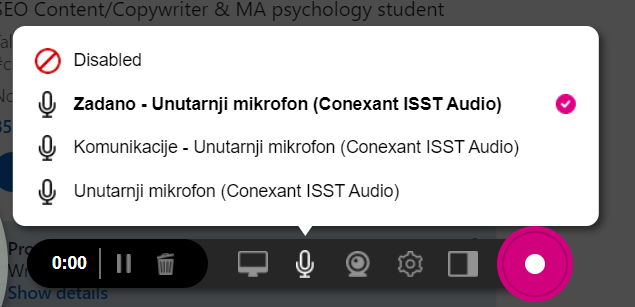
- Select a microphone or disable tone recording.
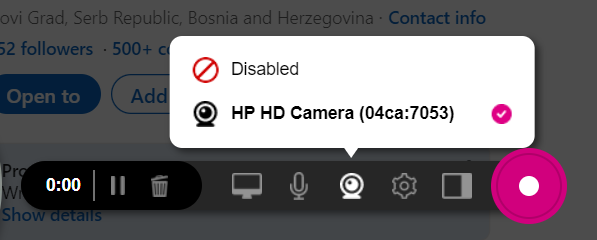
- Choose your camera or disable it.
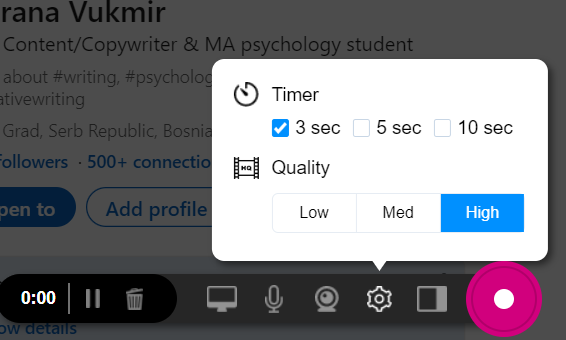
- Manage timer and quality of video recording.
- And finally, add scheduling events.

#3 Stop Recording #
Once you’re done – click “Stop” and then wait. Your video will be saved and transferred in this format. 👇
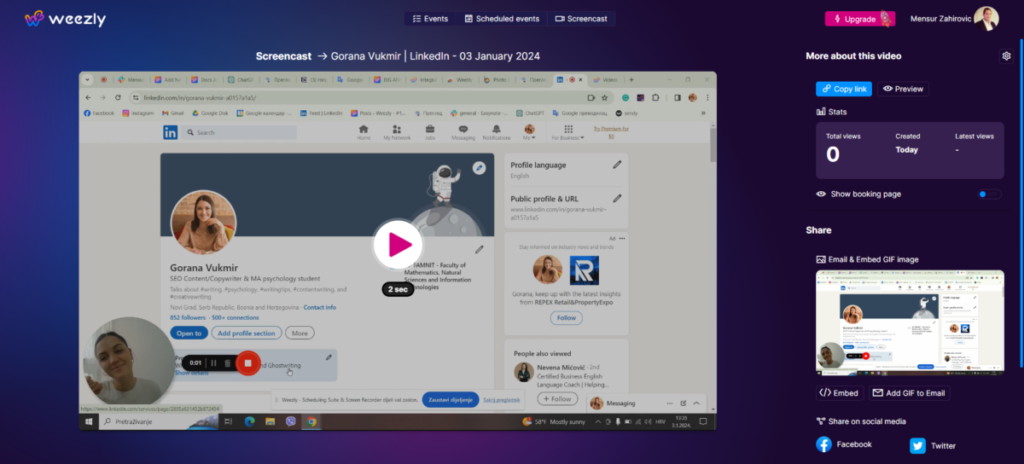
#4 Step: Preview & Share #
- On the right side, there is a Preview option to see how the video will look in the end.
Of course, you can monitor analytics and the number of views, and below there are options for sharing.
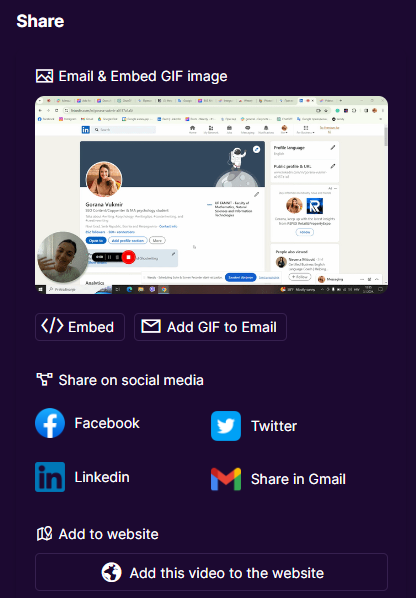
- Choose the method that suits you best and share your Screencast.
Keep in mind: Your Screencast will be saved automatically and you will be able to find it in the Screencast folder on the Weezly dashboard.
Record directly from the Weezly tool #
In the ‘Screencast’ tab, located on the right, you’ll find a ‘New Video‘ button. Simply click on it to start recording.