If you want to enhance the video message you’ve recorded for your potential clients or website visitors, consider adding a booking page to it. This increases the likelihood that viewers will quickly schedule a meeting with you. Here’s how to add a booking page to your video.
#1 Before You Start Recording #
When you’re ready to record and wish to include an event in your recording, click on the icon next to ‘Start Recording’ (refer to the picture). A tab with options will open on the right.

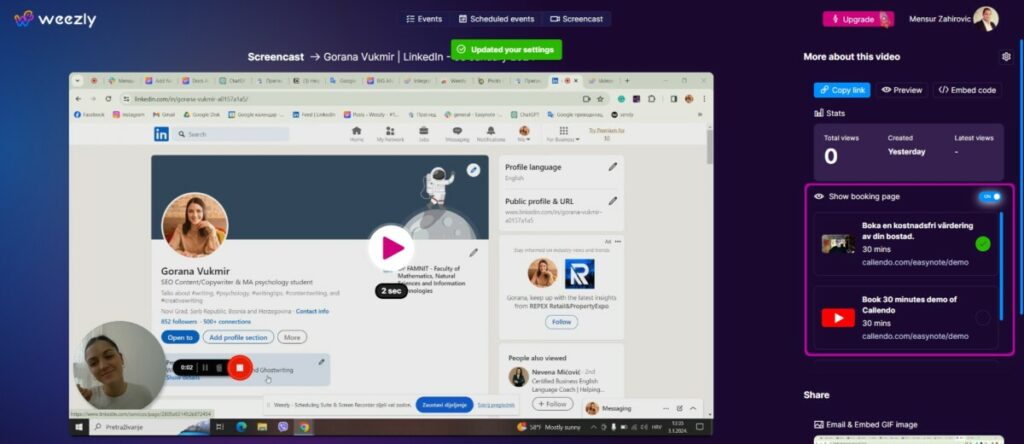
#2 Add booking page from settings #
After you’ve saved the video and navigated to this page, look for the ‘Show Booking Page‘ button on the right. Click it and select the desired booking page.
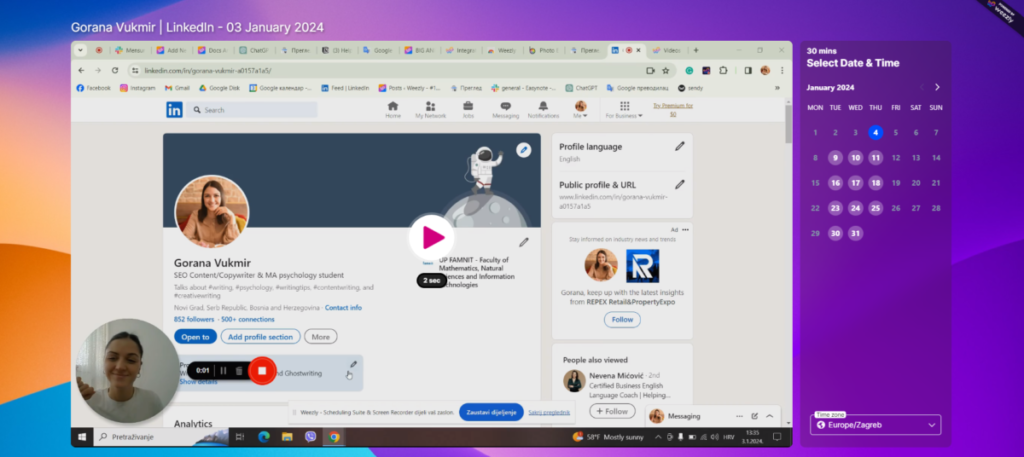
- Click ‘Preview‘ to check what it looks like. For example: 👇
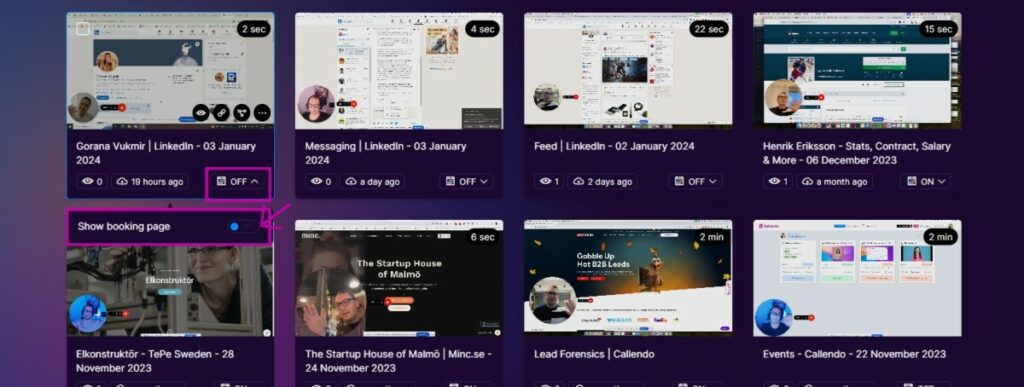
#3 Quickly manage from dashboard #
Lastly, you can access the option to display the booking page from the dashboard, where all your recordings are. Refer to the photo for guidance.