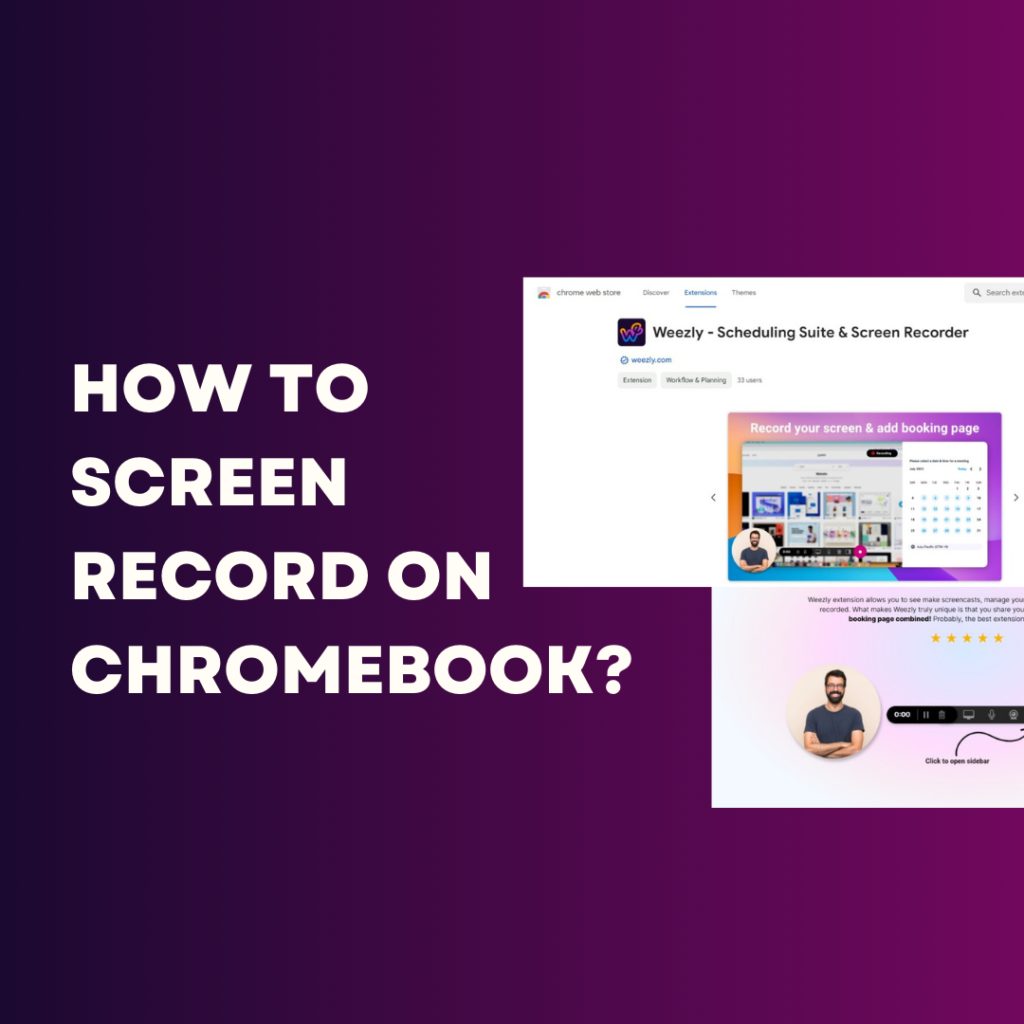
Chromebooks have become increasingly popular for their simplicity, affordability, and integration with Google services. However, for many users, one of the primary challenges has been figuring out how to screen record on a Chromebook.
Whether you’re a teacher creating educational content, a student working on a project, or just someone wanting to capture a moment on your screen, this guide will walk you through everything you need to know about screen recording on a Chromebook.
Why Screen Record on a Chromebook?
Screen recording can be beneficial for various reasons:
- Educational Content: Teachers and educators can create video tutorials and instructional videos.
- Project Collaboration: Students and professionals can demonstrate their work and share progress updates.
- Troubleshooting: Record your screen to show technical issues to support teams.
- Content Creation: Create content for YouTube, social media, or personal projects.
Understanding how to effectively screen record on a Chromebook can significantly enhance productivity and creativity.
Built-in Screen Recording Tools
Chromebooks come with a built-in screen recording tool as part of the Chrome OS. This feature was introduced in Chrome OS 89, making it easier for users to capture their screens without needing third-party software.
How to Use the Built-in Screen Recorder?
- Accessing the Screen Recorder:
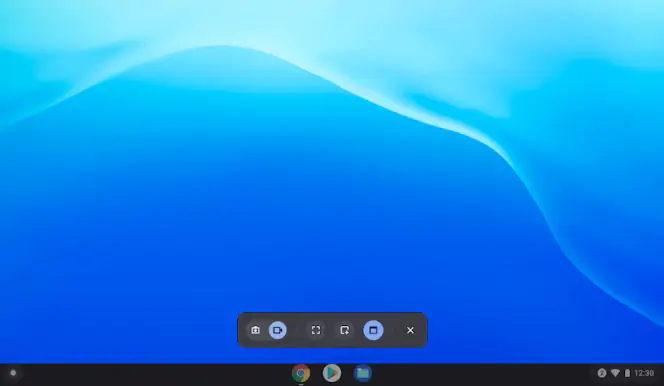
- Click on the time in the bottom-right corner of your screen to open the quick settings menu.
- Click on the Screen Capture icon (it looks like a small camera).
- Choosing Your Recording Mode:
- In the Screen Capture toolbar, you can choose between screenshots and screen recordings.
- Select the screen recording icon, which looks like a video camera.
- Setting Up Your Recording:
- Choose whether you want to record the entire screen, a specific window, or a custom area.
- Click the settings icon to select audio preferences (if you want to record audio from your microphone).
- Starting the Recording:
- Click on the Record button to start recording.
- A countdown will appear, and the recording will begin.
- Stopping the Recording:
- Click on the stop button in the bottom-right corner of the screen.
- Your recording will be saved in the “Downloads” folder.
Tips for Using the Built-in Screen Recorder
- Ensure System Updates: Always keep your Chrome OS updated to access the latest features and improvements.
- Check Audio Settings: Before starting, verify that your microphone is working if you need to record audio.
- Practice: Familiarize yourself with the tool by doing a few test recordings to ensure you know how it works.
Using Third-Party Screen Recording Software
While the built-in screen recorder is sufficient for most tasks, you might need more advanced features offered by third-party software. Here are some popular options:
Weezly
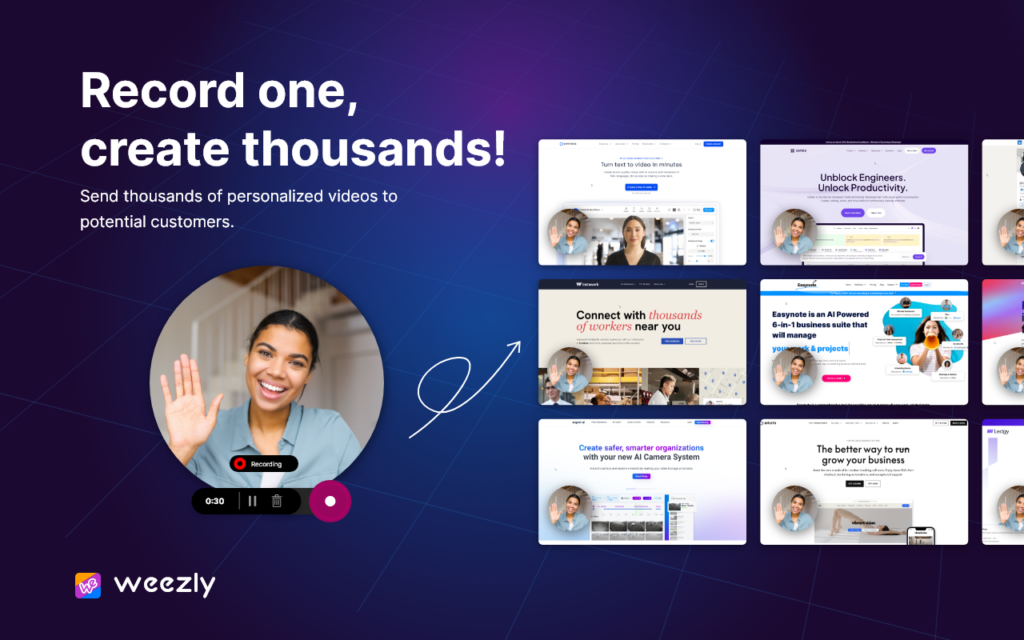
Weezly is an emerging screen recording tool with a dedicated Google Chrome extension, offering a streamlined recording experience with some unique features.
Features of Weezly
- Simple Interface: Easy-to-use interface suitable for beginners.
- Collaboration Tools: Share recordings and collaborate with anybody.
How to Use Weezly
1. Installation:
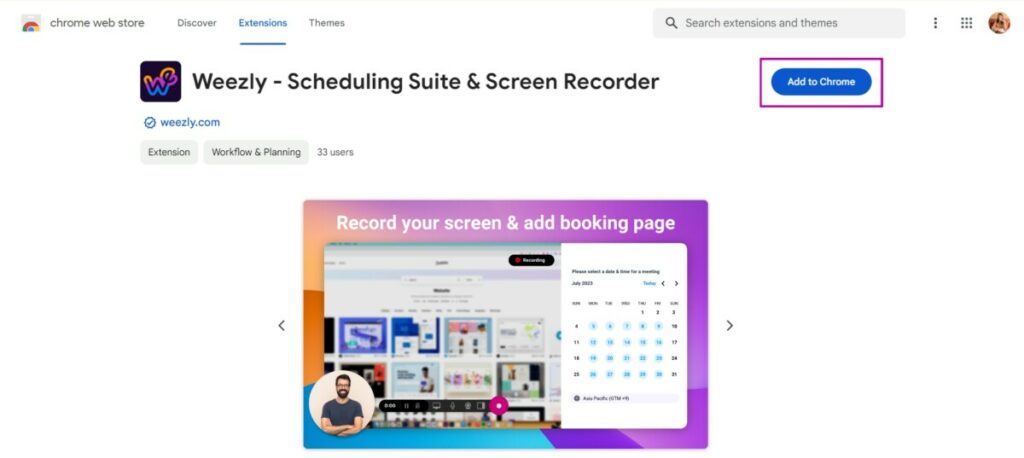
- Go to the Chrome Web Store and search for Weezly.
- Click “Add to Chrome” to install the extension and follow the steps.
2. Setting Up:
- After installation, click on the Weezly icon in the Chrome toolbar.

- Sign in or create an account to start using Weezly.
3. Recording:
- Click the Weezly icon to open the recording menu.
- Choose your recording settings (full screen, application window, or browser tab).
- Click “Start Recording” to begin and “Stop” when done.
EXPLORE DETAILED STEPS: How to record yourself with Weezly?
4. Sharing:
- Use Weezly’s basic editing tools to make necessary adjustments.
- Save your recording to your preferred cloud storage or share it via a link.
Advanced Tips & Tricks
To make the most out of your screen recording sessions, consider the following tips:
Plan Your Content
- Outline Your Recording: Create a script or outline to ensure you cover all necessary points.
- Practice: Do a few dry runs to familiarize yourself with the flow and timing.
Optimize Your Settings
- Resolution and Frame Rate: Adjust these settings based on your needs. Higher settings provide better quality but larger file sizes.
- Audio Quality: Use a good microphone to improve audio clarity.
Common Issues and Troubleshooting
Despite the simplicity of screen recording on a Chromebook, you might encounter some issues. Here are common problems and their solutions:
No Sound in Recording
- Check Audio Settings: Ensure the microphone is enabled in the recording settings.
- Permissions: Verify that Chrome has permission to access your microphone.
Poor Video Quality
- Resolution Settings: Increase the resolution for clearer videos.
- Lighting: Ensure good lighting if recording with a webcam.
Recording Lag
- Close Unnecessary Tabs: Free up system resources by closing unused tabs and applications.
- Update Chrome OS: Ensure your Chromebook is running the latest version of Chrome OS.
How to Screen Record on Chromebook: Final Thoughts
Screen recording on a Chromebook has become more accessible and versatile with the introduction of built-in tools and the availability of third-party software. Whether you are a beginner or an advanced user, this guide provides all the information you need to effectively capture your screen and create high-quality recordings. By utilizing the built-in features or exploring advanced third-party options like Screencastify, Loom, WeVideo, or Weezly, you can enhance your productivity and creativity on your Chromebook. Happy recording!

