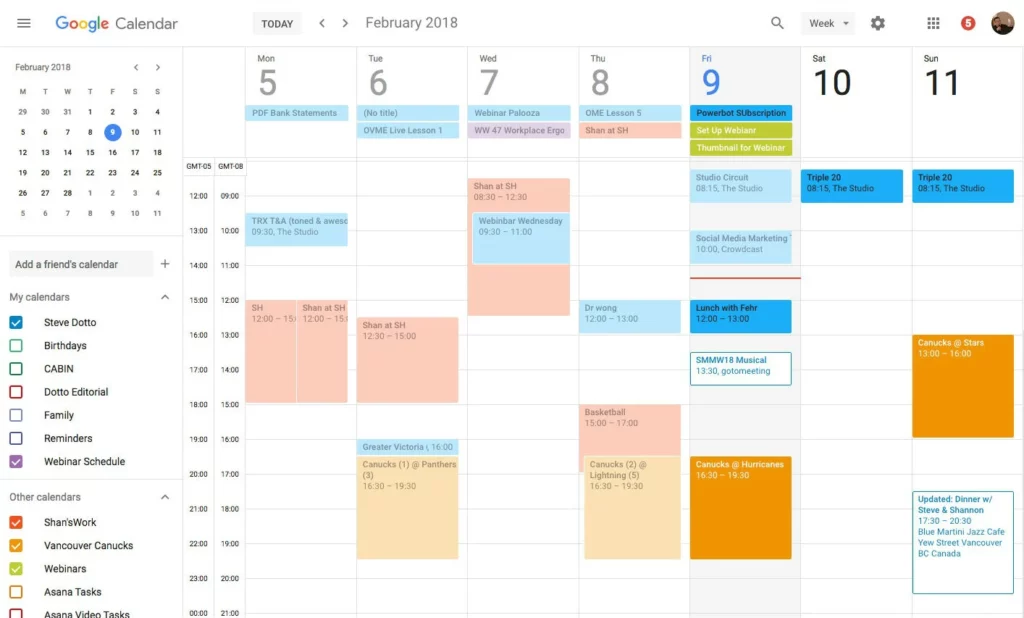
Google Calendar, with its seamless integration into the broader Google ecosystem, has become a staple for many when it comes to managing schedules, reminders, and meetings. However, like everything in life, sometimes plans change, and you may need to cancel a meeting that’s already scheduled. Not sure how to do that? No worries! In this comprehensive guide, we’ll walk you through how to cancel a meeting in Google Calendar, step by step.

Table of Contents:
- Understanding Google Calendar’s Interface
- Steps to Cancel a Meeting
- Pro Tips for Efficient Calendar Management
- The Importance of Communication
Understanding Google Calendar’s Interface
Before diving into the steps, it’s essential to be familiar with the interface. Google Calendar, like many Google products, prides itself on user-friendliness.
Key Elements of Google Calendar:
- Main Calendar View: This is where you’ll see your scheduled events, reminders, and meetings.
- Event Details: Clicking on a specific event will provide more information, including participants, time, location, and other notes.
- Navigation Panel: This is on the left side and helps you navigate between different dates, months, and calendar views.
Now, with a clear understanding of the interface, let’s delve into the cancellation process.
How To Cancel a Meeting In Google Calendar: Step-by-step
- Open Google Calendar:
- Simply go to Google Calendar and ensure you are logged in with the appropriate Google account.
- Navigate to the Specific Meeting:
- Based on the date of the meeting, either use the navigation panel or scroll through the main calendar view to find the event.
- Open the Event Details:
- Click on the meeting you wish to cancel. This will open a pop-up window showing all the event details.
- Select “Edit Event”:
- On the top right corner of the pop-up window, there’s a pencil icon. Clicking this will open the editing view of the event.
- Cancel the Meeting:
- At the top right corner, you’ll see a ‘Bin’ or ‘Trash’ icon. Clicking this will delete the meeting from your calendar. This is equivalent to cancelling the meeting.
- If there are invitees, a window will pop up prompting you to send a cancellation email to the participants. It’s a good practice to send this notification so participants are informed.
- Confirm the Cancellation:
- A confirmation window may appear, asking you to verify the cancellation. Click “Yes” or “Confirm.”
- Check the Main Calendar View:
- After you’ve completed these steps, the meeting should no longer appear on your calendar.
Pro Tips for Efficient Calendar Management
- Frequent Audit: Regularly review your calendar to ensure all events are still relevant. According to Productivity Experts, this minimizes the risk of missing essential engagements.
- Set Reminders: Google Calendar allows you to set multiple reminders. It’s advisable to have at least two reminders for every event: one a day before and another a few hours prior.
- Use Colors: Categorizing events by color (e.g., blue for work, green for personal) can help you visually identify different commitments.
The Importance of Communication
While canceling a meeting might seem straightforward, the process’s communicative aspect is crucial. When you cancel an event, especially one involving other participants, it’s essential to notify them promptly and, if possible, provide a reason for the cancellation. Good communication prevents confusion and maintains professional relationships.
SEE MORE: Sync Calendly with Google Calendar: A Step-By-Step Guide
In Conclusion
Cancelling a meeting in Google Calendar is a breeze once you’re familiar with the steps and the platform’s interface. By following this guide and practicing good communication etiquette, you’ll ensure that your scheduling changes are efficient and clear to all parties involved.