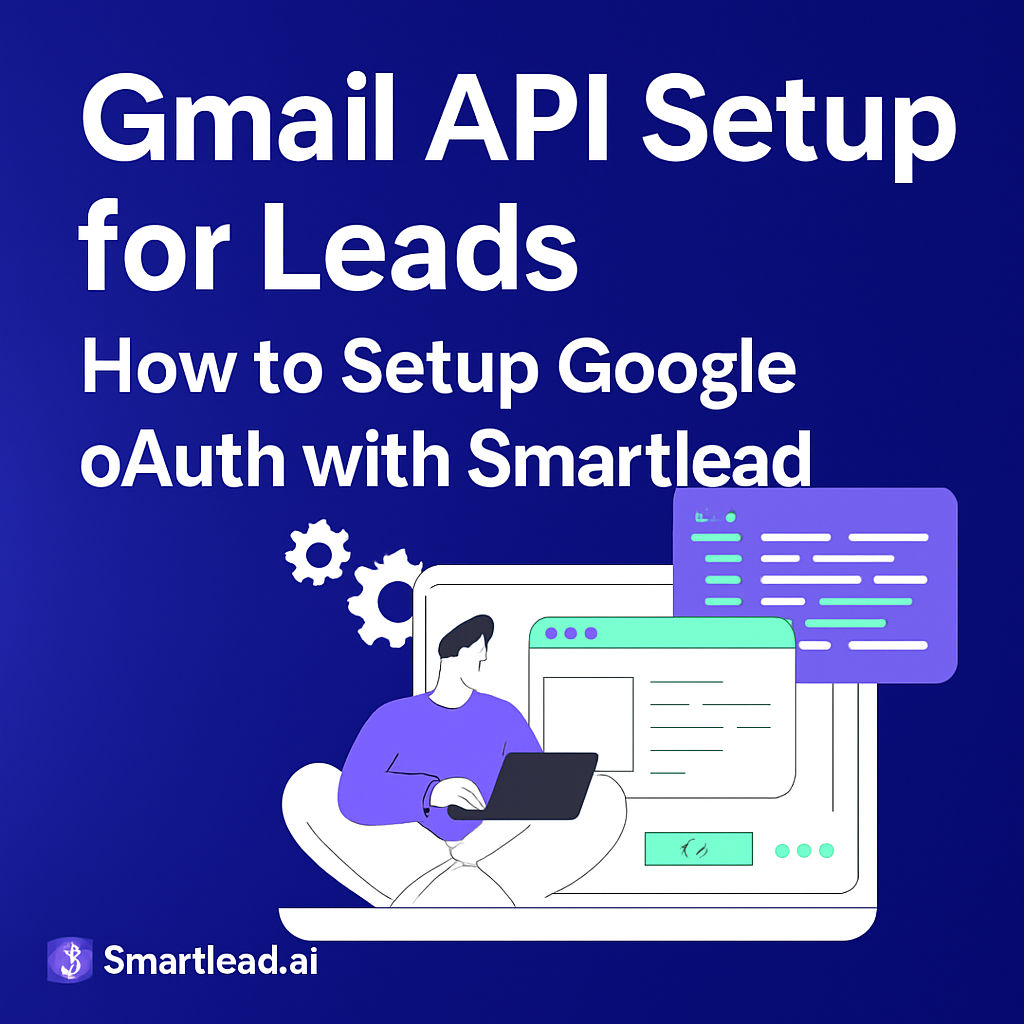
Setting up the Gmail API for streamlined smart lead integration can drastically improve your workflow, automate lead capture, and boost collaboration across your team. With a seamless connection between Gmail and your lead management tools, you can cut down manual tasks and ensure accurate, efficient data flow. In this guide, we’ll walk you step-by-step through the Gmail API setup process within Google Cloud Console, highlighting common challenges, best practices, and actionable tips for secure integration. By following these strategies, you’ll ensure your API connection is built on expert knowledge and industry standards — and be ready to unlock more advanced automation opportunities for your business.
Based on the original video:
Why Integrate Gmail API for Smart Lead Automation?
Modern sales and marketing workflows rely on the ability to capture, nurture, and manage leads in real time. Integrating tools like the Gmail API with smart lead platforms allows you to:
- Automatically capture new leads: Parse emails to extract inquiries and opportunities as soon as they arrive.
- Simplify follow-up: Trigger automated outreach using personalized templates, increasing efficiency and response rates.
- Sync communications: Ensure all relevant messages are logged in your CRM or lead platform for complete visibility.
- Reduce manual data entry: One-click integrations cut down on repetitive admin tasks and lower the chance of error.
Integrating Gmail with your lead management tools requires secure permissions, accurate domain scoping, and a reliable OAuth flow — all of which begin in the Google Cloud Console.
Project Creation in Google Cloud Console
Your first step in configuring the Gmail API is to establish a dedicated project in the Google Cloud Console. This project serves as the environment in which your API integration and OAuth credentials are securely managed.
Accessing Google Cloud Console
To get started:
- Head to Google Cloud Console and sign in with your Google account.
- In the top bar, click the project dropdown and select New Project.
- Give your project a clear, descriptive name so it’s easy to identify (especially if you manage multiple integrations).
- Set your organization and location as appropriate, then click Create.
By separating integrations into distinct projects, you maintain better control over API usage, credentials, and access policies — a crucial aspect of both security and compliance.
Enabling the Gmail API
With your new project selected, it’s time to activate the Gmail API so your application can interact with Gmail inboxes (based on user consent).
Activating Gmail API Access
In your Google Cloud Console dashboard:
- Navigate to the left sidebar, expand APIs & Services, and select Library.
- Search for “Gmail API” in the API library search bar.
- Click the Gmail API result, then press Enable.
- If already enabled, click Manage to review usage metrics, quotas, and keys.
Monitoring API metrics is essential. If you notice errors or throttled requests, you’ll have early insight into capacity or security issues that may impact your integration.
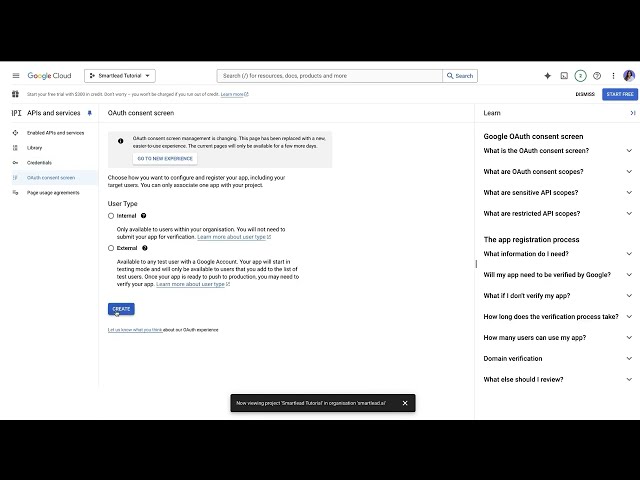
Setting Up OAuth Consent for Secure Access
One of the most critical steps in integrating the Gmail API is configuring the OAuth consent screen. OAuth is the protocol that allows users to securely grant your app access to their Gmail data — it underpins authorizations and ensures users can trust your application with sensitive information.
Editing the OAuth Consent Screen
To configure your OAuth consent screen:
- In the left sidebar, select APIs & Services > OAuth consent screen.
- Choose External (for most user-facing SaaS integrations) or Internal if only your organization will use the app.
- Fill out required fields:
– Your app name: This is visible to users during sign-in.
– Support email: Where users can send questions about the app.
– Logo (recommended): Build trust by uploading a recognizable image.
Accuracy here is vital—misleading information can prompt Google to delay or reject your verification.
Adding Authorized Domains
Domains inform Google which sites are permitted to use your OAuth credentials. Here, the integration requires you to add:
- Your platform’s domain (e.g., smartly.ai for the base integration).
- A white label or custom domain, if you offer branded solutions to clients (e.g., yourapp.com).
After specifying domains, add your developer email; Google uses this for important comms about your app’s status and compliance. Always double-check for typos here, as missed domains can break your authentication flow.
Saving and Proceeding
When all required data is complete, click Save. This preserves your consent screen configuration for the next phases of OAuth setup.
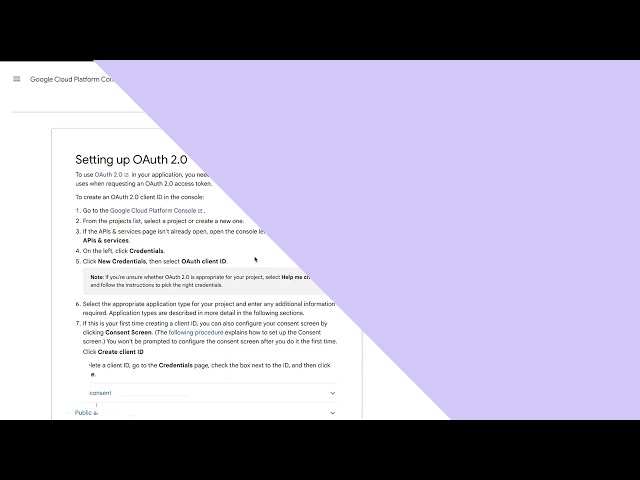
Configuring OAuth Credentials for Your App
With the consent screen ready, generate an OAuth client ID — this unique identifier allows your app to call Gmail API endpoints on behalf of users who have granted permission.
Creating OAuth Credentials
Steps include:
- Open APIs & Services > Credentials from the left sidebar.
- Click Create credentials > OAuth client ID.
- When prompted, select the application type. For most web-based integrations, choose Web application.
You will now define two critical sets of values:
Authorized JavaScript Origins
- Add URLs from which your app may run JavaScript during authentication. Example: https://app.smartle.ai
- Include your main app domain and any applicable white label URLs.
Authorized Redirect URIs
- This is where Google will redirect users after they approve or deny access.
- Examples typically include https://server.smartle.ai and matching white label endpoints.
Providing accurate URLs here is critical — any mismatch will trigger errors and prevent users from completing the OAuth workflow.
Defining Data Access Scopes for Gmail Integration
Gmail API scopes tell Google (and your users) what kind of access your integration requires. Scopes should balance functionality and privacy — request the minimum level necessary for your use case.
Adding Sensitive and Non-Sensitive Scopes
During setup:
- Access the Data Access section in your Cloud Console API settings.
- Add non-sensitive scopes (such as
emailorprofile) if your app only needs basic identification. - Add sensitive scopes (such as
https://mail.google.com/) for full Gmail read/write capabilities. - Update and save changes. Ensure the scopes you add are justified and that your privacy policy reflects their use.
For more details on scope definitions, consult Google’s documentation on OAuth 2.0 scopes.
Next Steps: Testing and Verifying Your Gmail API Integration
Once setup is complete, use the OAuth client ID and secret within your application’s development environment. It’s essential to test thoroughly before rolling out to production users, as misconfigured origins or URIs are common sources of authentication failures.
- Try authenticating from both main and white label domains.
- Check access levels: Ensure the app only requests designated scopes.
- Monitor Google Cloud’s API & Services > Dashboard for any failed requests or errors.

Key Takeaways for Secure, Effective Gmail API Integration
- Plan your integration: Use separate projects for each environment or client to isolate risk.
- Be precise with OAuth settings: Typos in callback URLs or domains are a top cause of permission errors.
- Request only what you need: Less is more when it comes to API scopes, both for privacy and verification speed.
- Review developer policies: Stay up-to-date with Google’s rules on data access and retention as they evolve.
- Document your process: Keep clear records of authorized domains, scopes, and settings for compliance checks.
Bonus: Automating Your Lead Workflows
With Gmail API integration up and running, you can explore automation options beyond lead capture. For example, automatically `tag` new inquiries, send sequence emails, or sync conversation history with your CRM. If you’re looking to simplify scheduling alongside your new Gmail workflow, check out our internal guide: how to create a booking link step-by-step — an excellent companion for converting leads into meetings seamlessly.
Frequently Asked Questions
What is the purpose of setting up Gmail API with smart lead platforms?
Gmail API setup lets smart lead platforms automatically capture, process, and follow up with new inquiries from your Gmail inbox, streamlining workflows and reducing manual effort.
Which domains should I add when configuring OAuth consent for Gmail API?
You should add your primary platform domain (like smartly.ai) and any white label/custom client domains where you expect users to authorize integration.
What happens if my redirect URI doesn’t match during OAuth setup?
If the redirect URI is incorrect or missing, users will see an error and authorization will fail. Always double-check URIs for accuracy — they must match exactly.
Are sensitive Gmail API scopes required for all integrations?
No, only request sensitive scopes like full mail access if your integration needs those permissions. Use the minimum required for your use case for best security and compliance.
How do I troubleshoot common Gmail API authentication errors?
Check that your credentials, authorized domains, and URIs are all entered correctly in Google Cloud Console. Use API metrics and logs to identify and resolve specific issues.