
Integrating AI agents into real-world business workflows is becoming an essential skill for modern professionals. Seamlessly connecting an AI agent to a system using APIs enables automation, real-time data flow, and smart decision-making. But how can you confidently achieve this if you’re new to APIs, web hooks, or agentic systems? This comprehensive, step-by-step guide breaks down every fundamental concept you need to know and demonstrates the exact process with practical examples—empowering you to build and deploy intelligent AI automations for yourself or your clients in 2025.
Based on the original video:
Why Connecting AI Agents to Systems with APIs Matters
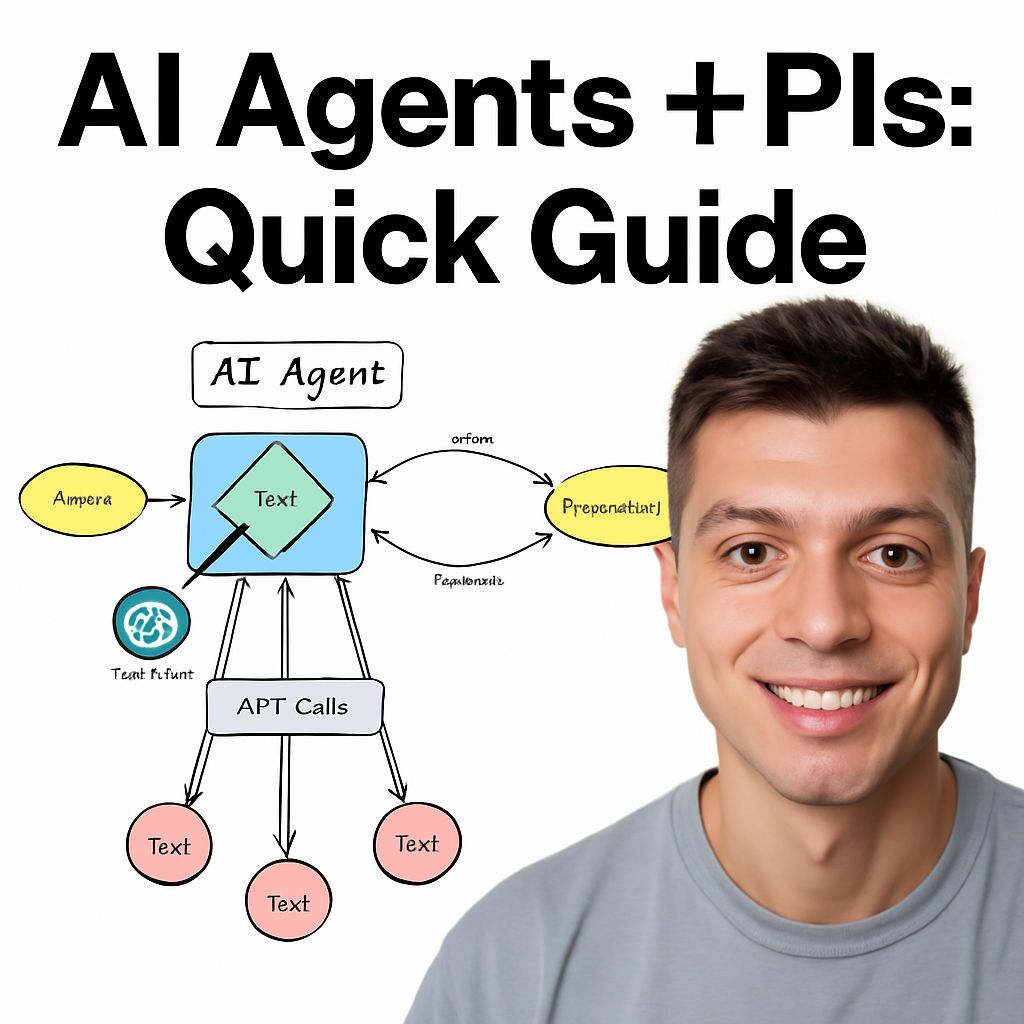
At its core, an AI agent is more than just a large language model (LLM)—it’s a smart system capable of interacting with tools, gathering context, and carrying out tasks within a feedback-driven environment. APIs are the critical conduit that allow these AI agents to access and control third-party tools or databases, ultimately making them useful for real-world tasks. Without API connectivity, even the smartest agent remains isolated, unable to take action or influence external systems.
- APIs let AI agents send and receive data programmatically
- Enable automation of repetitive or high-frequency interactions
- Power the feedback loops required for adaptive decision-making
This API-first approach is especially vital in domains like customer service, sales automation, and lead management, where rapid, reliable integrations directly impact business outcomes.
How APIs Work: The Essentials Every Builder Needs
If you plan on developing agentic systems—whether for your own operations or as a service—mastering APIs, web hooks, and integration patterns is non-negotiable. But don’t worry—getting started is simpler than it may seem.
Understanding API Requests: The Four Essentials
An API (Application Programming Interface) is the standardized way that different services talk to each other. Most common APIs use HTTP requests, which always consist of four main parts:
- URL: The web address for the API endpoint you want to reach (e.g., your CRM’s new record endpoint)
- Method: The type of action to be taken (GET, POST, PUT, DELETE). For example, POST creates new data, GET reads data.
- Headers: Additional metadata, such as content type and authorization credentials (often an API key).
- Body: The actual payload or data you are sending—used mainly with POST or PUT requests, typically in JSON format.
For instance, sending lead data from your AI agent to a spreadsheet system would mean making a POST request to the relevant endpoint URL, adding your authentication in the headers, and formatting lead details as JSON in the body.
What Happens After the API Request?
When your request goes out, the receiving system responds with an HTTP response, which contains:
- Status code (e.g., 200 for success, 401 for authentication errors, 500 for server issues)
- Headers with metadata about the response
- Body containing the result data, usually formatted in JSON
Most APIs require authentication—most commonly via an API key or OAuth token. Always read the service’s documentation for specifics on how to format your requests and where to include credentials.
Web Hooks: Turning APIs from Passive to Proactive
Imagine your agent doesn’t have to keep asking, “Any updates yet?”—instead, the system notifies your workflow the moment something happens. That’s the beauty of web hooks.
Unlike regular API calls (where you initiate the action), web hooks allow external systems to automatically send you updates in real-time. You simply provide a URL—called an endpoint—that’s ready to receive events (like a new lead, a transaction, or a status change). Whenever the trigger happens, the sending system posts the relevant data directly to your endpoint, no polling required.
Setting Up a Web Hook: The Two Main Steps
- Create a web hook endpoint: This is a URL that can accept incoming POST requests. You can build it with code using a platform like NodeJS or Flask, or use no-code workflow builders which generate endpoints for you visually.
- Configure the sending system: Paste your endpoint URL into the system’s settings, telling it to send data to your workflow whenever a triggering event occurs (like a completed voice call, customer signup, or payment confirmation).
Web hooks enable near-instant data exchange—no more waiting or manual refreshes. This makes them ideal for AI automations that require prompt, accurate action.
Practical Walkthrough: Connecting an AI Voice Agent to a CRM via Web Hooks
Let’s walk through a real-world example—building an integration where an AI-powered voice agent qualifies leads, collects essential data, and sends it automatically to a CRM using web hooks and API calls.
Scenario Overview
- An AI agent (“Alex”) qualifies insurance leads by asking for their name, age, and current insurance status over the phone.
- The AI collects data from the call and sends it to a workflow builder via a web hook.
- The workflow forwards this data to a CRM database (such as Airtable) through a POST API request, creating a new record.
This example can be adapted for countless industries and use cases, from appointment setting to customer service automations.

Step 1: Prepare Your AI Agent
You’d typically start by setting up your AI agent in your preferred platform. In the scenario above, the agent is configured with a natural prompt, chooses the appropriate voice, and is given sample scripts to collect four data points:
- First name
- Last name
- Age
- Current insurance status (Yes/No)
Customize the settings to suit your business needs: change the voice, provide company-specific knowledge, or add more detailed context as required.
Step 2: Create the Web Hook Endpoint
Using a no-code workflow builder, generate a new workflow and add a “web hook” trigger node. This immediately gives you a unique web hook URL. Copy this URL for the next step.
Configure the new web hook endpoint to accept POST requests—this is the most standard method for receiving unsolicited data from external sources.
Step 3: Integrate the Web Hook with Your Agent
Return to your AI agent’s integration or settings area. Locate the “Web Hook URL” field, and paste the endpoint you just created. Platforms may offer separate URLs for staging/testing and production—use the test URL until you’ve finished setup and validation. The agent will now send the collected data to your web hook endpoint at the appropriate event (typically when the call is analyzed or completed).
Step 4: Specify Data Parameters to Extract
In the agent’s configuration, explicitly define which variables should be extracted and sent: first name, last name, age, and insurance status. Add descriptive details for clarity and, if helpful, examples of valid input (“Yes” or “No” for insurance).
For optimal reliability, include these data variables in both the agent’s internal prompt and the outbound web hook payload.
Step 5: Understand Event Types and Select the Right One
Most agent platforms let you choose from several web hook event types (for example: call started, call ended, call analyzed). Select the event that gives you the data you need—”call analyzed” might include all user responses and variables extracted from the conversation.

Step 6: Test the Complete Flow from Call to CRM
After setup, use the workflow builder’s “Listen for Test Event” function on your web hook node. Trigger a test call with your AI agent and simulate a customer interaction (“Hi, my name is Ben Sherman…”). If configured correctly, your workflow instantly receives the structured lead data—proving the real-time, automated connection between voice agent and CRM.
If you encounter errors, double-check your URL, request format, event type selection, and that you’ve pasted the correct web hook endpoint into the agent settings. Pay special attention to case sensitivity and the requirements set in each system’s documentation.
Beyond the Basics: Authentication and Next Steps
Most API integrations—especially in business—require authentication to prevent unauthorized access. This could be as simple as API keys or extend to OAuth tokens for extra security and flexibility. Always insert your authentication credentials within the API request headers and keep them secure.
With your web hook workflow verified, the final automation step is to use an HTTP action within your workflow builder to POST the received data to your CRM’s API endpoint (e.g., Airtable). This completes the flow—from live customer interaction to structured CRM record—in a fully automated chain.
A Real-World Example: AI-Powered Support and Scheduling
Integrating APIs with AI agents can revolutionize your service workflows. For a broader take on deploying automated customer service and appointment management, consider reading this detailed overview of an AI-powered customer service and booking system. It covers field-tested workflows and modern tools that create seamless value for businesses.
What is MCP? A Glimpse at the Future of API Integrations
The final concept covered is MCP (Multi-Channel Protocol), a newer approach gaining traction. Unlike traditional API integrations—where you must write custom code or configure each individual tool—MCP standardizes how systems communicate. If your preferred tools support MCP, building multi-system workflows becomes dramatically simpler and more scalable.
MCP protocols could mean less time spent reading disparate documentation, less debugging, and faster go-live speeds for your AI automations. While not all platforms support MCP yet, it’s a movement worth watching if you plan to scale your integrations or offer automation services to clients.

Key Takeaways: Building Robust AI Agent-Driven Automations with APIs and Web Hooks
- APIs are crucial for connecting your AI agents to the tools and systems that power your business.
- Understanding HTTP requests—URL, method, headers, body—is foundational to reliable integrations.
- Web hooks enable instant, event-driven automations, letting systems notify your workflows in real time.
- No-code workflow builders make it easy for non-developers to receive, transform, and forward data between platforms.
- MCP and other emerging protocols are streamlining how agents connect to the modern business software stack.
Frequently Asked Questions (FAQ)
What is the difference between an API and a web hook?
An API (Application Programming Interface) allows two systems to communicate—usually initiated by your app making a request to another service. A web hook, on the other hand, is an automated notification system; the sending service automatically posts data to your endpoint when an event occurs, requiring no manual requests on your end.
Why should I use web hooks in my AI automations?
Web hooks deliver real-time, event-driven updates. This eliminates the need for constant polling (periodically checking for changes) and enables workflows to respond instantly to key triggers—such as customer submissions or payment confirmations.
What authentication is required for API and web hook integrations?
Most business APIs require authentication, generally through an API key or OAuth token included in the request headers. While some web hooks are unauthenticated (especially for test environments), production deployments should ensure secure endpoints and, where possible, validate the source of incoming data.
What should I check if my integration is not working?
Common troubleshooting steps include verifying endpoint URLs, confirming authentication credentials, ensuring payload data matches the API’s specification, and checking which event types are being triggered and sent. Always consult both the agent and workflow builder documentation for details.
Where can I learn more about building fully automated AI workflows?
For a deeper dive into AI-powered business automations, including advanced use cases and field-tested setup tactics, explore the article on AI-powered customer service and booking systems.


