Did you know that email marketers find much higher click-through rates when they include videos in their messages? In this post, we will explore one crucial aspect of creating the perfect digital communication: how to embed video in an Outlook email. While it may seem like a complex task at first, with our step-by-step guide, even total technology novices can quickly and easily incorporate dynamic media into their emails.
Understanding the Basics: Why Embed Videos in Emails?
Before diving into the ‘how-to’, it’s essential to understand the ‘why’.
- Engagement: Videos tend to capture attention more effectively than text or static images. This is especially true for instructional or promotional content.
- Information Delivery: Videos can convey complex information more concisely, making them a great tool for product demos or tutorials.
- Personal Touch: For brands and businesses, personalized video messages can humanize interactions and establish stronger connections.
Now let’s jump back to embedding a video in your Outlook email.
How to Embed a Video in an Outlook Email?
Unfortunately, due to various security and compatibility issues, you cannot directly embed a video to play within an email in Outlook. However, there are a couple of effective workarounds:

Step 1 – Upload The Video To Your Online Platform
To embed a video in your email, it must already be hosted somewhere on the internet. You might upload it to YouTube, Vimeo, or another type of online platform you prefer — there are plenty to choose from.
Step 2 – Copying Video URL
Next, copy the web address (URL) for the page where your video is hosted.
Step 3 – Insert Video Link to Outlook Email
Within the body of your email, click on the “Insert” tab and select “Link.” Paste the URL you copied from the online platform.
- Embedding Using an HTML Code:
- This method is a bit more technical but can give your email a more integrated feel. Here, a piece of HTML code (often provided by video hosting platforms) is inserted into your email.
- Attaching the Video as a File:
- If the video is short and small in size, you can attach it directly to the email. However, remember that many email providers limit attachment sizes (Outlook’s limit is 20MB).
Step-by-Step Guide to Embedding a Thumbnail Linked to a Video
- Host Your Video: First, ensure your video is uploaded to a platform like YouTube or Vimeo. These platforms automatically generate thumbnails for your videos.
- Capture the Thumbnail Image: Visit the video page, pause at the frame you’d like as your thumbnail, and take a screenshot. Save this to your computer.
- Insert the Thumbnail in Outlook:
- Open a new email in Outlook.
- Click on the ‘Insert’ tab and choose ‘Pictures’ from the ribbon. Navigate to your saved thumbnail image and insert it into the email.
- Link the Thumbnail to the Video:
- Right-click on the inserted thumbnail.
- Choose ‘Hyperlink’.
- In the ‘Address’ field, paste the URL of your video. Click OK.
- Your thumbnail is now linked! When recipients click on it, they’ll be directed to the video.
Embedding Using an HTML Code
Many video hosting platforms provide an embed code that you can use:
- Obtain the Embed Code:
- On platforms like YouTube, below the video, click ‘Share’, then ‘Embed’. This will provide you with an HTML iframe code.
- Embed in Outlook:
- Compose a new email.
- Click on the ‘Insert’ tab and select ‘Attach File’, then ‘Insert as Text’.
- Locate the HTML file on your computer and select it. The code will be inserted into your email.
Step 4 –Test The Link
Before sending the email, ensure that the link leads directly to your video.
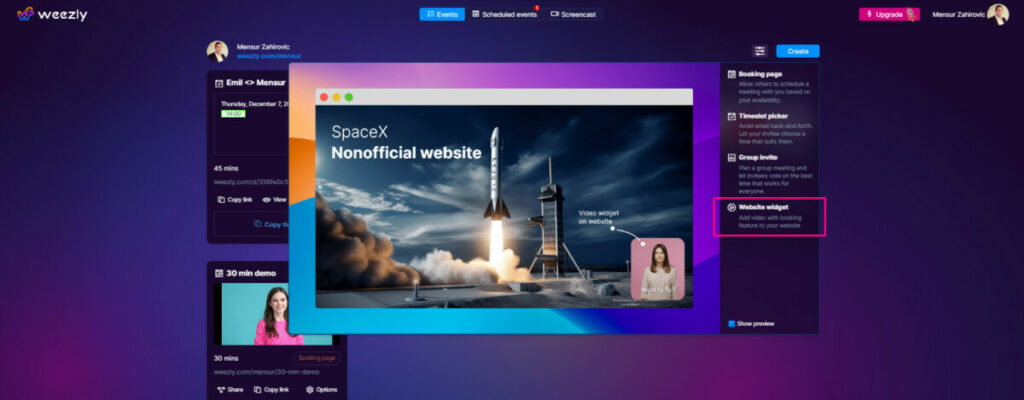
With these steps, your video should be successfully embedded in your Outlook email. But what if you also want to use a handy scheduling tool like – Weezly?
Conclusion
Embedding a video in an Outlook email may not be direct, but with the above methods, you can still incorporate video content effectively. Remember, the goal is to enhance the user experience, so always prioritize the recipient’s ease of access and viewing experience.

