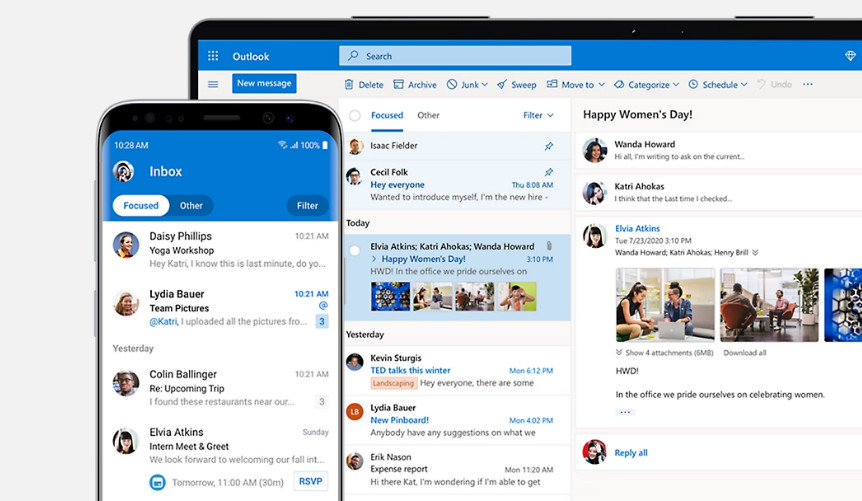
Outlook, one of the most popular email clients, offers a plethora of features to make our lives easier. Among them is the ability to set up automated recurring emails in Outlook. Whether you’re sending monthly newsletters, weekly reports, or daily reminders, Outlook can handle it all with ease. In this comprehensive guide, we’ll walk you through the steps to create these automated emails and some best practices to keep in mind.

Why Would You Need Automated Recurring Emails?
Before diving into the “how,” let’s discuss the “why.” Here are some scenarios where automated recurring emails come in handy:
- Regularly Scheduled Reports: Sending weekly or monthly progress reports to a manager or team.
- Newsletters: Automatically dispatching weekly or monthly newsletters to subscribers.
- Billing Reminders: Reminding clients about upcoming bills or invoices on a set schedule.
- Anniversaries or Birthdays: Sending annual greetings or reminders.
Setting up Automated Recurring Emails in Outlook
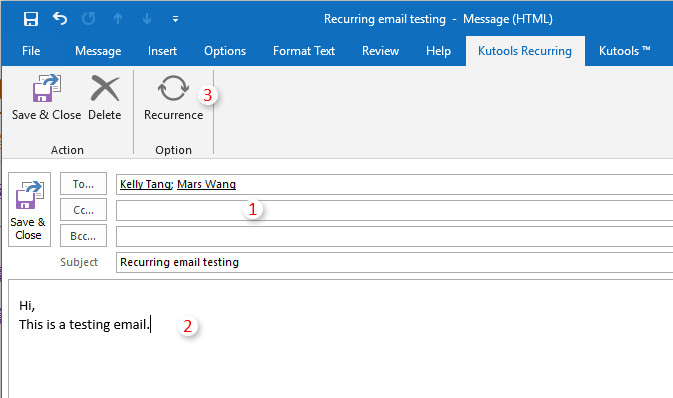
Let’s get started with the actual process. Outlook doesn’t offer a direct feature called “automated recurring emails,” but with a combination of calendar appointments and email templates, the job gets done.
Step 1: Create an Email Template
- Open Outlook and click on ‘New Email’.
- Compose your email, adding subject, recipients, body text, and attachments as needed.
- Once done, click on ‘File’ > ‘Save As’.
- In the Save As dialog box, choose a location and type in a name for your template. From the “Save as type” dropdown, select ‘Outlook Template (*.oft)’.
- Click ‘Save’ and close the email without sending it.
Step 2: Set Up a Recurring Calendar Appointment
- In Outlook, navigate to the Calendar view by clicking on the calendar icon.
- Double-click on your preferred date to create a new appointment.
- Set the subject and location, if needed.
- Click on the ‘Recurrence’ button. This opens the ‘Appointment Recurrence’ dialog box.
- Choose the desired frequency (Daily, Weekly, Monthly, etc.) and set the pattern.
- Under the ‘End’ section, you can choose how the recurring series should end. It can be after a certain number of occurrences or by a specific date.
- Click ‘OK’ to set the recurrence.
Step 3: Attach the Email Template to the Calendar Appointment
- In the open appointment window, click on the ‘Insert’ tab.
- Click on ‘Attach Item’ > ‘Outlook Item’.
- A new window will pop up. Navigate to ‘Look in’ > ‘User Templates in File System’. You should see your saved email template.
- Select the template and click ‘Insert’.
- The template will be attached as an item in the calendar appointment.
Step 4: Add a Reminder to Send the Email
- In the same appointment window, you can set a reminder for when you want to send the email. This reminder won’t automatically send the email but will remind you to do so.
- Once reminded, you can open the attached template and hit send.

Best Practices When Setting Up Automated Recurring Emails
- Review Before Sending: Even if it’s automated, always review the content before sending. This ensures that the information is still relevant and error-free.
- Keep Templates Updated: Situations and information change. Update your templates periodically.
- Avoid Spam Triggers: Make sure your emails comply with best practices to avoid landing in the recipient’s spam folder.
- Include Unsubscribe Options: For newsletters or promotional emails, always give recipients an easy way to opt-out.
EXPLORE MORE: How to Add Multiple Reminders in Outlook Calendar?
Alternative Tools for Automated Recurring Emails
If you’re looking for more advanced features or easier automation, there are several third-party tools that integrate with Outlook:
- Mail Merge: This Outlook add-in lets you send personalized mass emails with ease.
- Flow by Microsoft: A cloud-based service that can create workflows between your favorite apps, including automating recurring emails in Outlook.
- Boomerang for Outlook: This tool not only lets you schedule emails but also sets up recurring ones.
Conclusion
Setting up automated recurring emails in Outlook might seem complex at first, but once you understand the steps, it’s a breeze. While Outlook requires manual intervention to send the actual email, it’s a free method that utilizes the tools you already have. For those looking for more advanced features, third-party integrations might be the way to go. Either way, automating this process can save you a lot of time and ensure you never miss sending an important email again.


