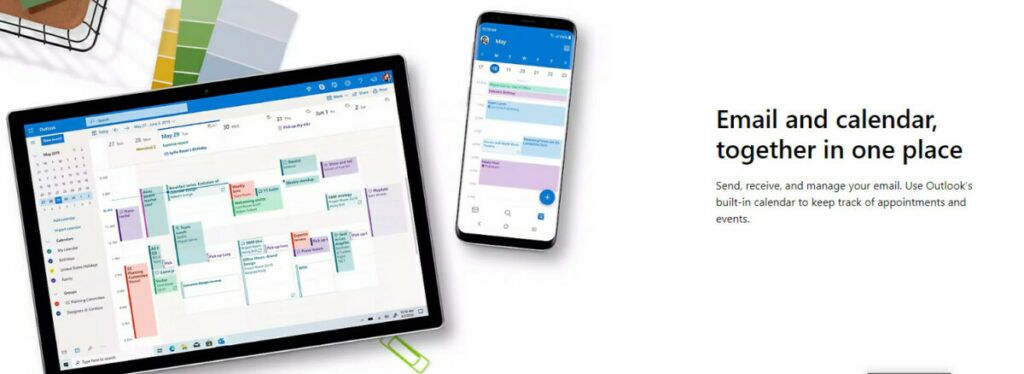
In this guide, we’ll delve deep into the process and see how to set working hours in Outlook, peppered with insightful tips, sourced from some of the most reliable resources online. By the end, you’ll be well-equipped to tweak Outlook to your schedule’s perfection.

Little Bit About Outlook
Outlook, a pivotal tool in the Microsoft Office suite, has consistently evolved over the years to meet the changing needs of its user base. One of the areas in which Outlook has truly excelled is in aiding users to manage their schedules more effectively. If you’re someone who juggles a variety of appointments or manages a team with diverse timetables, you’ll appreciate the importance of accurately setting your working hours. This ensures that you’re only booked when you’re available and avoids misunderstandings or overlapping appointments.
Why Setting Accurate Working Hours Matters Even More Today
- Remote Work & Global Collaboration: With the surge in remote working, collaborating with colleagues across different time zones has become a norm. Accurate working hours prevent midnight meeting requests from international colleagues.
- Automated Scheduling Tools: AI-driven scheduling assistants often pull data from Outlook. Accurate working hours ensure these tools work effectively.
- Digital Well-being: Especially in the era of blurred lines between home and work, setting boundaries helps in digital detox and mental health. A study has shown that distinct work-time boundaries can lead to reduced stress.
A Step-by-Step Guide to Setting Your Working Hours in Outlook
a. Accessing the Advanced Calendar Settings
After you’ve navigated to the ‘Calendar’ in ‘Outlook Options’, look for the ‘Work time’ section. Here’s where the magic happens.
b. Adjusting for Half-Days or Varied Hours
What if you start early on Mondays but work half days on Fridays?
- Use recurring appointments: If your work schedule varies, set up a recurring appointment to block out non-working hours. This gives others a clear visual cue of your availability.
c. Time Zone Management
For those juggling multiple time zones:
- ‘Time zones’ feature: Outlook allows you to display multiple time zones. This is handy if you frequently collaborate with a team in another part of the world.
d. Defining Work Week
Just below the working hours, there’s an option titled ‘Work week’. It allows you to select the days that comprise your professional week. If, for example, you work Monday to Friday, ensure only these days are checked.
e. Saving Changes
Once you’re satisfied with the adjustments, click on ‘OK’ to apply the changes.
So, How To Set Working Hours in Outlook?
- Open the Outlook application.
- Click on the calendar icon (lower-left side).
- Navigate to the ‘File’ tab.
- Select ‘Options’.
- Click on ‘Calendar‘ from the left sidebar.
- Adjust fields ‘Start time’ and ‘End time’ under ‘Calendar Options‘.
- Define work weekdays under ‘Work week‘.
- Click ‘OK’ to save changes.
The Hidden Treasures of Outlook Scheduling
- Publishing Your Calendar: This advanced feature lets you share your calendar with people outside your organization. It’s a fantastic way to avoid scheduling conflicts, especially if collaborating with freelancers or external agencies.
- Color Coding: Use Outlook’s color-coding system to differentiate between types of tasks or meetings. This visual indicator can be a lifesaver when you’re scanning your week at a glance.
- Group Scheduling: If you’re looking to find a common free slot among a team, the ‘Group Schedule’ view in the calendar can be a game-changer. It offers a side-by-side view of multiple calendars.
Tips to Keep in Mind
- Flexibility: Remember, not everyone has the traditional 9-5, Monday-Friday work week. Always set hours that truly reflect your schedule.
- Holidays and Off Days: Regularly update your working hours if you’re planning holidays or know in advance about changes to your routine. Outlook also offers a feature to add public holidays from various countries automatically.
- Using Plugins: There are various plugins available, like Boomerang for Outlook, that can help in refining your schedule management.
How To Set Working Hours in Outlook: Conclusion
In today’s fast-paced world, managing one’s time efficiently has never been more critical. By setting your working hours in Outlook, you not only streamline your workday but also ensure better work-life harmony. So, next time you open Outlook, remember, that it’s more than just an email tool; it’s your personal assistant helping you to be at your productive best!
SEE MORE: How to Add Multiple Reminders in Outlook Calendar?